
Every serious consultant and technichian walks through this phase of having his private test environment and wants to bring whatever environment to live. In the former days this was occasionally heavy iron, piling up to some extend and everybody had somehow to handle the hardware.
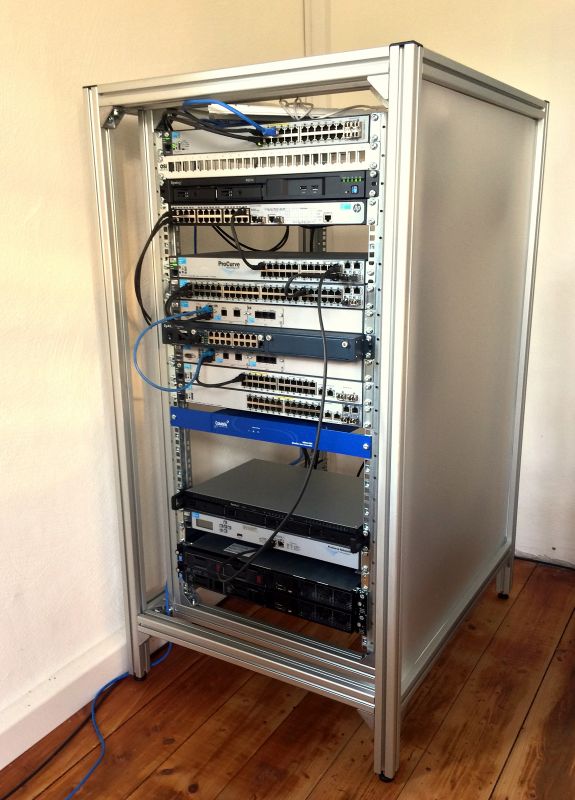
Today virtualisation and the meltdown in memory pricing helps. Entire companies may be simulated virtually in little more than an PC. What doesn’t change is communications and given the fact that nice replication or virtulisation technologies sometimes shall work over a far stretched wide area connection. So the today home lab looks first compressed in a small compute unit (or two) and some (NAS) storage to allow some flexibility.
Do you like to add some communication complexity … you are in the world of switches and routers wich – if linked to some actual hardware – can not be tested virtualized, and I am well aware of network simulators like GNS3.
So to bring the lab together, I had to find some space to rewire the network stuff and to home the virtual lab. Bringing in an entire of the shelf server rack seemed a bit too inconvenient. Its either ugly, expensive, clumsy or a mix of all three. Getting a bit picky, on my office environment I decided to build something on my own. Being setteled in a machinery company for more than three years now, I found some joy in the industrial style, as you may have noticed in my desk project a while ago.
So why not a rack.
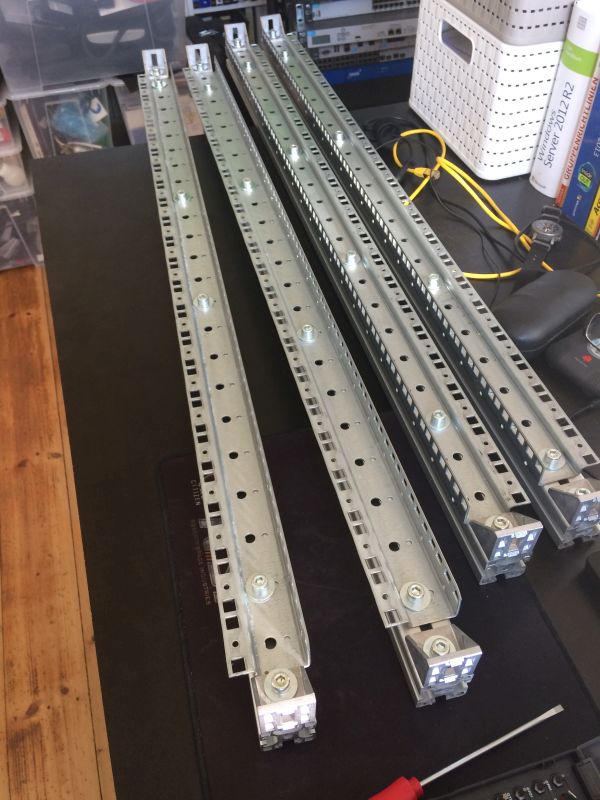
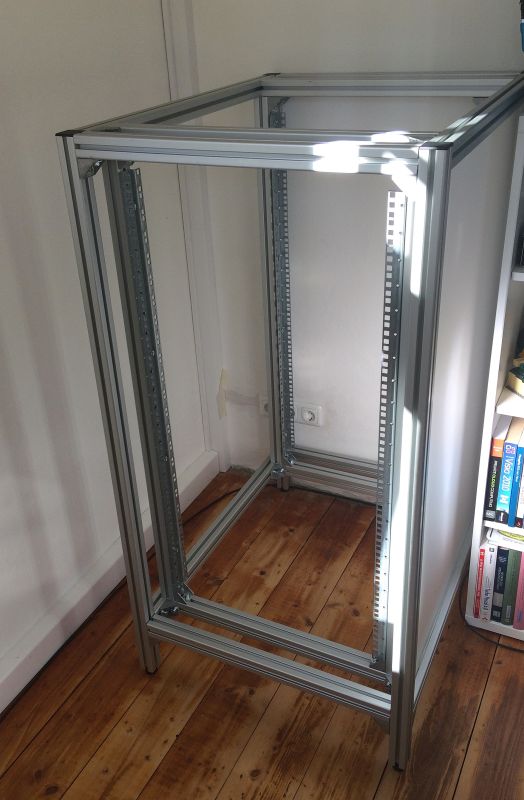
The first hurdle was the aquirement of rack rails, that allow the installation of server and other rack mount equipment just as with an original vendor rack. Luckily the interior rails are available as single parts for pocket money. I managed to find EATON rails in 22U on ebay for less than 8,- EUR a piece.
Then you may decide which aluminium beam profile technology you want to use. I did not exactly calculate what Bosch technology would have cost, but I got stuck previously already with Blank Profiltechnik, offering some kind of noname material. There I decided to go for the 40×40 aluminium beams, which promised some reasonable strength, but still seemed to be office-space proven slim.
Based on that decission you need the connection elements. They are offered in bolt nut kits with according bolts as well as the bolts and the corner supports. The good thing is, that these nuts and bolts exactly fit into the rack rails, so that later rail kits may be mounted without hazzle of the beam fixed bolts.
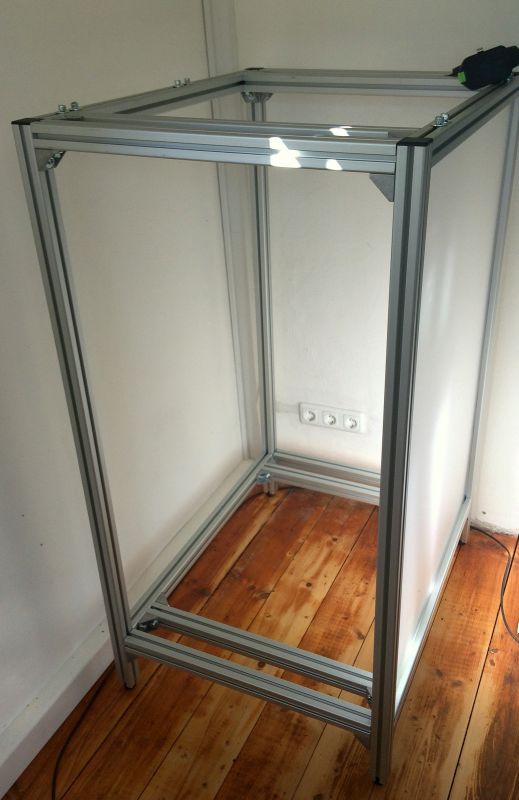
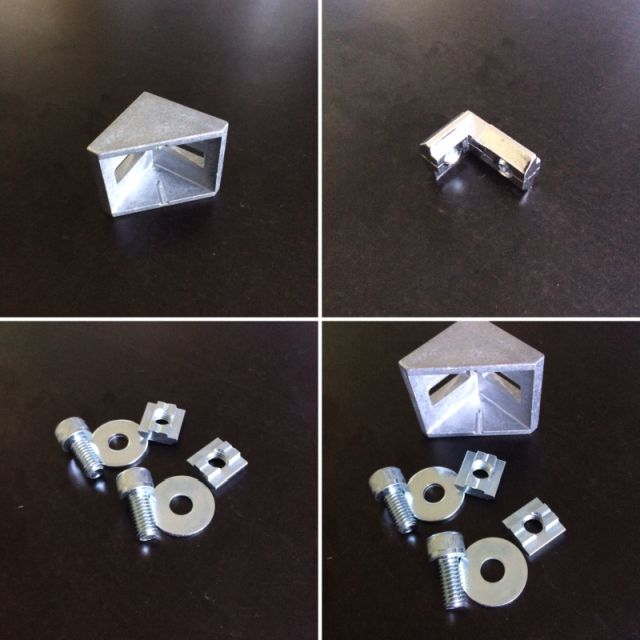 So after preparing the beams with rails, each held by four bolts, I started to bring together the side elements. The side elements you may fill with white plexiglass, make the rack a bit more office or living space compatible. If you decide to do so, there are internal angle connectors whisch allow to free the space for your sheet of plexi, otherwise the stronger supports block your window. The aluminium beams have profile grooves, where the plexiglass fits in and you may add some window seal to avoid some flapping or even LED strips to iluminate the side of your rack.
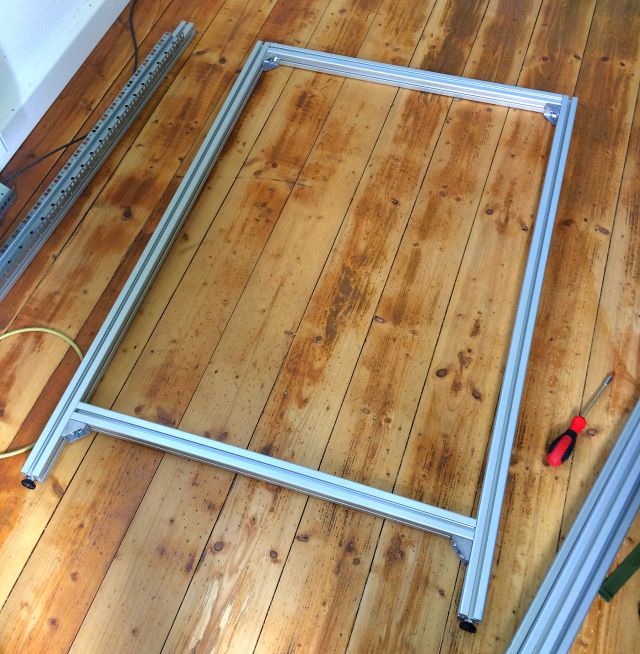
Started with that you should first have two side elements which you then may link together with the horizontal beams. Speaking of that, shortly lets cover the dimensions. Since the standard height unit U is 44,45mm the 22U rack rails are about 100cm in length and given that you need two times 40mm as mounting space for the courner supports, the height of the internal beams should be 110cm.

Given that you need additional two times 40mm for the horizontal beams and here again at least 40mm for the lower mount on top you need about 130cm high beams for the external frame.
Since a 19″ rack measures 482mm from mounting hole to mounting hole, adding again two times 40mm for the vertical beams I chose 60cm wide beams for the horizontal connection. Here I added beams inside the outer frame to add space for adjustement and additional stability. Particular these had been mounted with four angle kits eacht to support the weight. If you want to add the plexi side elements, 60cm might be very tight and you probably go a size bigger.
For the depth I chose 80cm beams, to spare some space for bigger components, but not giving the bulky size of a full 100cm or 110cm rack. Nevertheless that is up to personal preferrence.
This gives the following bill of material.
4x 130cm 40x40mm aluminium beam
4x 110cm 40x40mm aluminium beam
4x 80cm 40x40mm aluminium beam
8x 60cm 40x40mm aluminium beam
1x 81cm x 111cm white sheet of 3mm plexiglass
2x internal angel connector
16x nut and bolt kits
34x 40mm angle kits with nuts and bolts
4x 22u standard square hole rack beam rails
4x 40x40mm post caps
4x 8mm foot bolts
4m of window seal tape
Then first drill/cut the 8mm threads in the vertical beams of the outer frame and screw in the foot bolts. Add the 80cm beams and close the frame. On the plexi side add the window seal tape (or the LED strips) into the inner groove of the beams and slide in the sheet of plexiglass before you close the frame. Than add the horizontal beams of the back side, the front side and then of the inner supports. The distance between inner and outer horizontal beams derived from what was convenient to fix the bolts, which luckily fitted to what I intended to achive.
In my case I prepared the rack rails with the 110cm beams before and added them last on the inner horizontal support beams. Between the vertical beams I verified double on top and bottom the 482mm distance from bolthole to bolthole to make the rack 19″ standard.
Leave the vertical beams a bit loose, so that you are able to adjust while adding the rack rails. When they fit and the distance is adjusted screw every nut tight.
The good thing is, that if you order all the beams and plexi cut to length, the only metal work is to cut the thread in the foot part of the outer beams. The mounting accessories come in packs of ten, which is convenient for this layout. The only tool you really need is a bolt screwdriver and the key for the internal connectors, as well as a thread cutter. I used a industry quality cordless screwdriver to really get the mounts fixed and tight.
Right now I added about 200kg of payload to the rack and have the idea that everything is really solid tight. If you plan to go more to the server load of 600kg and more per rack, I probably would upgrade to 45x45mm profiles, and for the strucural beams probably the double one of 45x90mm. As well i definitely would go for the big footbolts which large caps.
So much for this and I Kyp. F.
Pingback: 15 DIY Server Rack Plans You Can Build Easily - DIY & Crafts
Pingback: 13 DIY Server Rack Plans For Data Centers - All Sands
Pingback: 20 Free DIY Server Rack Plans - DIY Crafts
Pingback: 15 Free DIY Server Rack Plans (Build a Server Rack)